Good evening, ladies and gentlemen and welcome to another entry to CWTC’s Road
To Comic-Con blog po-

To quote Tobey Kebbel’s character from Kong: Skull Island, “Sometimes
life just punch ya in the balls.” Despite how I may feel about this news,
this prop and this costume isn’t going to finish itself so until we hear more
about when Comic Con will be (or find a different one to attend), might as well
just keep plugging away at it, right?
Alright, so in this blog post, we’re going over the process of
repainting our Super Colossal T. Rex from Jurassic World: Fallen Kingdom
to closer resemble the infant Rex from The Lost World: Jurassic Park.
I’ve already gone over any physical changes I’ve made to the sculpt in Part 1
(link here) so this entry is focusing on any cosmetic
changes.
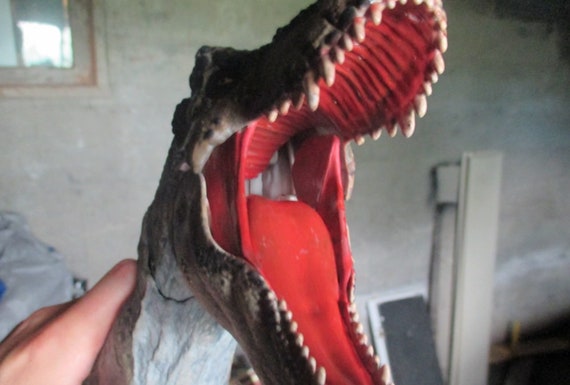
First thing’s first, our Rex needs to be primed. Since there
are parts of the Super Colossal Rex that are rubber, the usual Rustoleum primer
won’t work too well since that stuff never cures properly on rubber and will
come off at the slightest touch. Instead, we’re using a can of aerosol Gesso
(I used Krylon) since that’s a primer-like substance that works on plastic and
rubber so I’ve primed the Rex as seen below. I’ve also done inside
the mouth, just as an aside.
 |
| Don't mind the Thrash and Throw Rex. That is a repaint I have long since finished and sold. |

Okay, so for this, we are going to be using the following items:
-Water with an eye dropper
-Soapy water to wash brushes when not in use
-A paint pallete
-Paper towel
-Brushes of various sizes
-Clear nail polish for the eyes and mouth
-Paint colors Tan, Antique White, Amish Grey, Wysteria (or a very light
purple), Citrus Green, Raw Umber, Forest Green, Deep Red, Leaf Green, Yellow,
Black, English Ivy Green (Campground also works), Cinnamon Brown and White
-Clear coat
-Cheesecloth
-Super glue
-Patience. Lots of it.

Okay, so like a numpty, I got started on this Rex without taking
pictures. I’ll go over the steps leading up to this point (don’t worry,
there aren’t many).
First, mix your Tan paint 2:1 paint to water ratio. For those who don’t
know what that means, for every two drops of paint, add one drop of
water. Any ratios will be listed as paint:water from hereon in unless
otherwise stated. Apply this to the entire dinosaur, including the inside
of the mouth.
Next, mix Antique White 1:5 and put it on the underbelly. With the infant
Rex, his lower jaw is white so apply this wash on the entire lower jaw exterior
then under those crease lines you see that start at the back of the bottom jaw
down. Apply this color almost to the end of the tail.
Mix 1:1 Tan and Amish Grey, dilute it 2:1 with water and then apply over the
entire dinosaur. It may seem like the first two steps were a waste of
time but trust me, it helps with the process of building up the color.
You may need to do 2 coats of this so there isn’t too much color bleeding
through.

Next, take the Wysteria, dilute it 1:8 and apply it to the entire dinosaur
except inside the mouth. Not sure how well it’s showing up on camera but
I assure you, it’s there.

Next, take your Citrus Green at a 1:2 ratio and apply it to the
overbelly. Note how the tail isn’t entirely green. That’s
intentional. Only make stripes and dots between the underbelly and the
top of the tail (those purple gaps).

Then we take some Raw Umber straight out of the bottle and dry
brush it onto the Citrus Green. In order to dry brush, what you do is dip
your brush into the paint but then dab it onto a piece of paper towel until
there is very little paint on your brush then you quickly (but gently) whisk it
across the surface of your project, leaving little spots and accents on the
detail of the sculpt.

So once the Raw Umber dries (with a figure this size, it really
doesn’t take long at all), we take Forest Green, mix it 1:8 and apply it to the
Citrus Green to tone it down a bit. Unlike the last step though, be sure
to cover the entire top half of the tail as well. You can see the glaring
purple gaps are much greener now. However, on these purple gaps, do two
coats of the Forest Green wash. Wipe or dab away any excess that may run
to the underside of the tail with a paper towel.
Once that’s done, we mix some Deep Red at a 1:8 ratio and then apply it to the underbelly and the eye sockets. Be sure to get under the feet, too.
Once that’s done, we mix some Deep Red at a 1:8 ratio and then apply it to the underbelly and the eye sockets. Be sure to get under the feet, too.

Ugh, the coloration of this dinosaur reminds me of Christmas. I hate
Christmas. Let’s get moving so it doesn’t look so Christmasy, shall we?

Next we’re doing the eyeballs. For this, take some Yellow and Leaf Green
and mix it 3:1 (3 Yellow for 1 Green) but don’t dilute it with water.
Simply mix together and apply onto our resculpted eyeballs. It probably
wouldn’t hurt to do two coats for this one. Take your eyeball mix and dry
brush it onto the green parts of the Rex’s body. Once your eye color has
dried, paint a big dot of Black paint for the pupil. Again, no need to
dilute the black, straight out of the cap is fine. Also use this black
for the claws on the hands and feet.
|
|
||
 |

Now we need to tone down the underbelly a bit. To do that,
mix Tan and Antique White 1:1 and dry brush it over any red wash not on the
head. Not sure how well it’ll show up on camera but it’s there.
Now that we’ve taken care of that, we need to make the stripes and patterns
that adorn the dinosaur’s body. To make this color, mix Campground/Black
3:1, then mix that with water at a 1:4 paint/water ratio. The
concoction might be a little runny so make sure you have some paper towel handy
to gently dab off any running excess paint. Use this mix (and some
reference pictures) to apply the stripes and patterns onto the Rex’s
body. I wound up doing two coats of this patterning as my first coat
looked a little too transparent for my liking. If it looks good to you,
leave it as is.
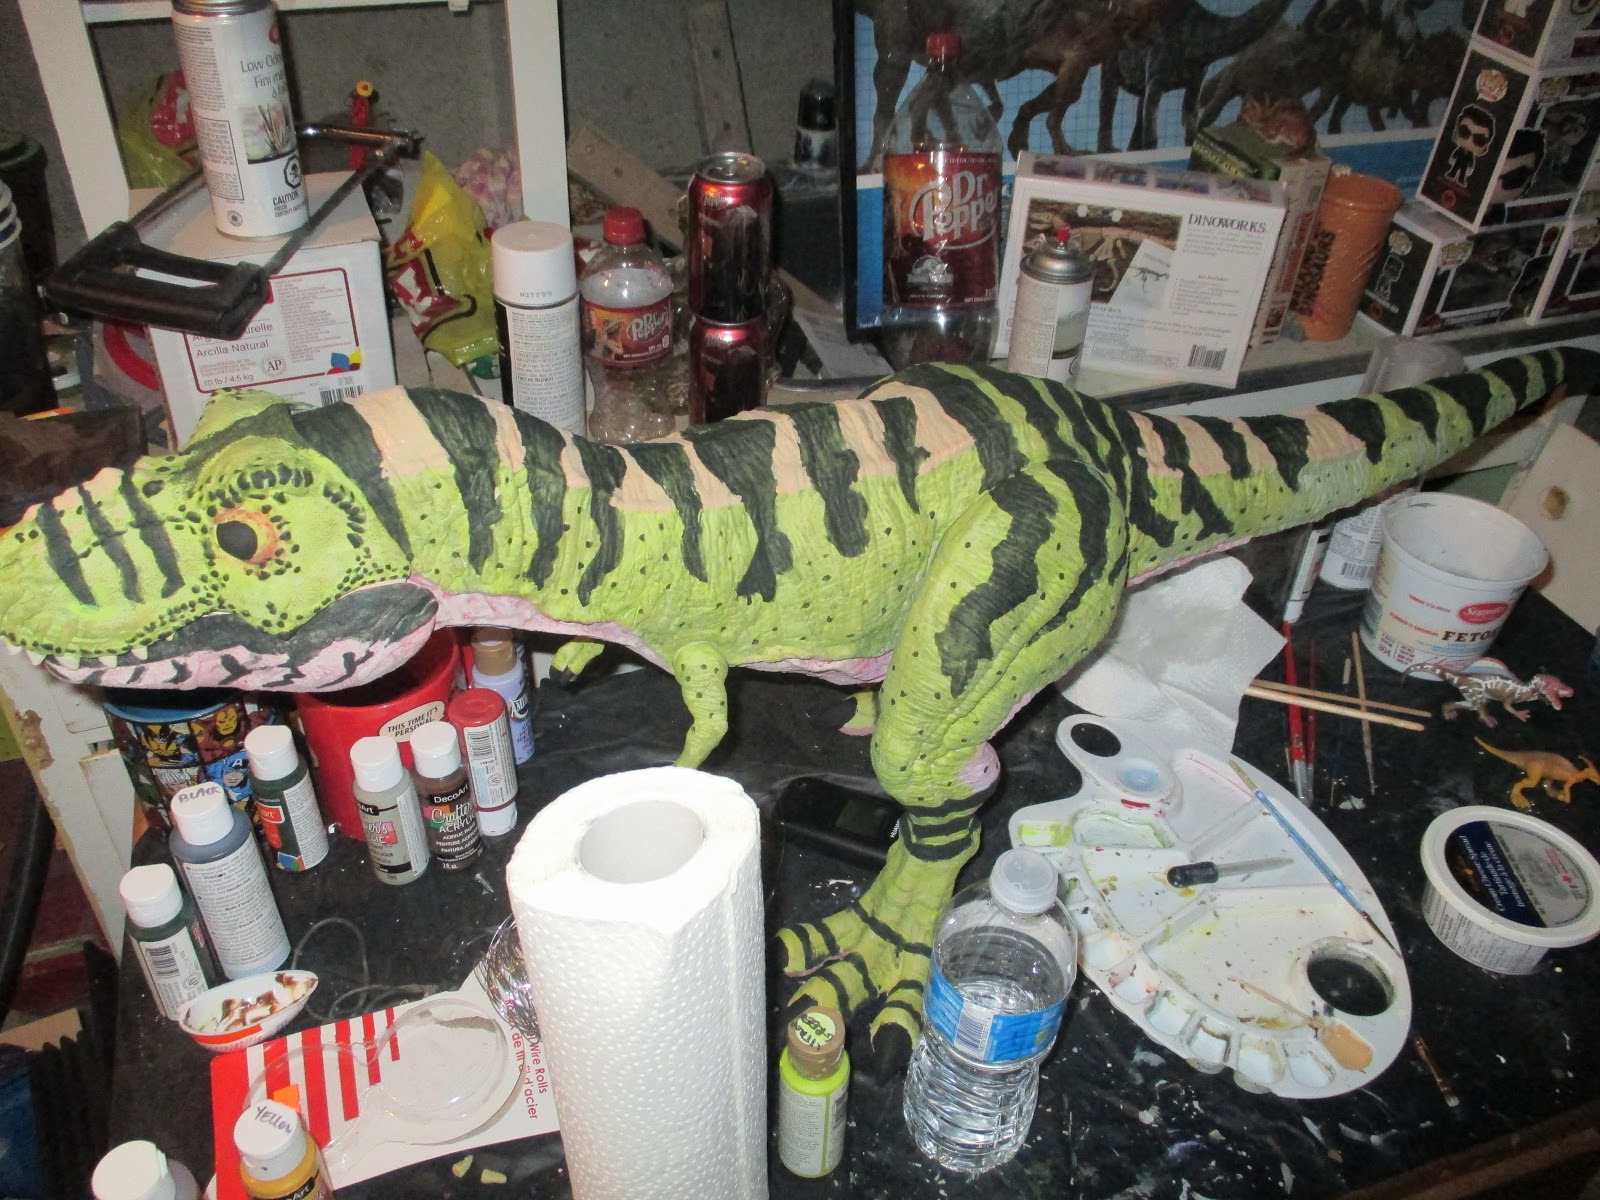
So now we need to do that lighter, brownish color that is seen
between the stripes running down the dinosaur’s spine. To do this, mix Cinnamon
Brown, Yellow and White at 1:1:1, then dilute it with water 1:1. I added
this color in a couple of little bumpy spots on top of the snout and then added
it to the spots pictured above. I was actually kinda surprised to see
that in reference pictures that the brownish stripe doesn’t actually run all
the way down the spine and stops at the hips before resuming a bit into the
tail, so that’s why those parts aren’t painted.

Once the brownish color on the spine dries, it’s time to add some
black wash to the figure to further tone down the bright green coloration of
it. I have instructions written down on how to make this color scheme
that says to use a 1:10 Black wash but I’m pretty sure this stuff is mixed
1:5. I’m gonna see how this works if I dab this one and then gently pat
away any excess wash with a paper towel.

Okay, that looks better…except the bottom jaw. Somehow I got sidetracked with something (probably laundry) and accidentally let the black wash sit for too long. Now it looks like the Baby Rex has a 5 o'clock shadow. Originally I tried spraying the bottom jaw with Windex and let it soak overnight in hopes of wiping away the paint there but that didn’t work as well as I would’ve liked it to. Time to repeat those steps and just redo it, I guess. An annoying but easy fix.

So while I was in the process of fixing this half of the bottom jaw, I stopped
and looked at my work in progress and realized that something felt off.
It still seemed too…vibrant, too green even with the black wash applied.
Looking at the reference pictures I saved on my phone, I noticed that the Baby
Rex is indeed green but not this green. His skin has a bit of a
brown coating on it too so I decided to put another wash on top of the
green, this time a 1:5 Raw Umber wash.

That’s more like it! I just applied the wash to this
one side but you can see how much of a difference in makes just by looking at
the foot closest to the camera. Now, to add the washes to the other side,
clean up this side of the lower jaw and fix the eyes. I realized
that I made the pupils way too large and need to dial them back a bit.

I did have to tweak this a bit after I took this picture but for
all intents and purposes, I'm calling it good with the eyes. I've redone
these things a few times now and to be honest, I'm getting bloody sick of
'em. Adding the little white dot to emulate the little glint adds a lot
to the overall look of it, though.
Now, we come to the mouth. I have a recipe for mouth
coloration but the last time I used it on a Mattel figure, it looked like the
mouth was all the same color when it really wasn't so we're gonna mix it up a
bit to make sure that doesn't happen again.

Just to set the tongue apart from the gums, I've applied some Flesh Tone
at a 2:1 ratio. Of course, in pictures it looks more orange than fleshy
so maybe it should've been called "Trumptone" but I digress. We
still have some unpainted sections of the back of the throat and I want the
entire inside of the mouth painted so lets get that 2:1 Tan in there.
It's actually more of a pain in the ass than it sounds.

So now that the tongue and rest of the mouth is dry, lets turn our
attention to the gums. I went back and watched a few scenes with the Baby
Rex in it and I think I got something. First, we're going to put on a
coat of 1:1 Cherry Blossom Pink on the gums, back of throat and jaw
membrane. While waiting for the rest of the mouth to dry, add a 1:8 wash
of the Cherry Blossom Pink to the tongue.

Now we need to add a 1:5 Deep Red wash onto the gums, not the
tongue. This wash only goes on the inside of the jaw membranes as the
exterior of those are visibly lighter.

While we wait for the gums to dry, onto the teeth! Nothing
really fancy here, just some 1:1 Antique White. 2 coats may be needed on
some of the teeth.

We then add some 1:5 Black wash to the exterior of the jaw
membrane. Same process as the underbelly, dab some on then dab off any excess
with a paper towel. Also, make sure you get under the skull of the Rex as
I clearly did not in this picture (that's been fixed).

Now we need to tone down the Red wash in the gums so we're making a 1:5 Burnt Umber wash and we're going to apply it over all of the mouth interior. Teeth, tongue, the whole nine. By doing this, not only are we dialing back the strength of the Red but also giving the teeth that worn, natural look.

We're on the home stretch, I swear. We need to shift our
attention to the cast. I had a bunch of leftover cheesecloth from when I
did my other Baby Rexes for my Etsy shop. Double checking the film, the bandages seem to go
from just below the knee to the top of the ankle, just before the big scales on
its toes start. So we cut a chunk off...

...put on some Super Glue...

...fold the cheesecloth in half, glue the frayed end on and being wrapping it
around the leg as tightly as you can. I wound up adding a bit more glue
on the back of the knee just for some extra grip. Once you've finished
wrapping the cloth, glue down the end of the bandage.

Voila! Cast is done. Now we take this little guy to the shed and spray
him entirely with Clear Coat. Once that cures (the Krylon stuff says it
dries in 20 minutes and can be handled in 60), we take our clear nail polish
and add it to the eyes and mouth for that natural wet look.

And with that, we're due for the final reveal.


Am I happy with how this one turned out? Hell yes, I am! Can I see
things that I can improve on or need to go back and touch up a bit? Hell
yes, I can! Doing repaints is a never ending learning process and there
are definitely things that I'll have to go back and tidy up a bit more (the
most noticeable one being how prominent the line on the bottom jaw is) but hey,
that's life. I do have a couple of pieces of advice for anyone who wants
to give customizing their Super Colossal Rex a whirl, though:
-Make sure you're working somewhere with excellent lighting. No matter where I work in my house, the lighting is always crap.
-For those hard to reach areas, an airbrush probably wouldn't be a bad
idea. I'm sure I'll pick one up someday.
-With the Super Colossal Rex, it comes in four pieces: main body, left leg,
tail and hatch on the stomach. It may be better if you paint these pieces
prior to assembling the dinosaur. The tail can be removed once attached
but the left leg cannot so it will make your life much simpler if you assemble
the pieces after painting them.
I would love to get another one of these (or more) to repaint with either this
or a different scheme and put them in the Etsy shop but shipping would be
absolutely ridiculous so I don't know if it would even be worth
it. I'll mull that over. So now that Comic-Con has been
"postponed," I guess I can't really call this Road To Comic-Con anymore
so...I'll mull that new name over along with the whole Colossal Rex listings
thing. Anywho, let me know what you thought of this project and in part 3
of this cosplay project, we'll be going over the assembly of the actual costume
I'll be wearing.
As always folks, thank you so much for reading (especially long ones like this)
and if you like what you see on this blog, you be sure to nudge that
"Follow" button. Stay cynical!
-The Cynic