
First thing's first, once the clay has been removed from the oven and cooled, it needs to be fitted back onto the dog bowl and primed. To fit it back on, I just used a lot of super glue on the underside of the clay and the top of the dog bowl. Nothing terribly fancy here. Once the primer had cured, I sprayed it with a Krylon clear coat so that the primer wouldn't feel so tacky when handling the item.

Okay, so after applying a coat of Tan paint (mixing 1 drop of water per drop of paint or 1:1 as it'll be displayed for the rest of the blog), I noticed that the underside of the bowl had some gaps between the plastic and the clay. I had some Milliput 2 part epoxy handy so I focused on filling in those gaps.

Much better. I let the Milliput cure for 24 hours and then once that was finished, I added another coat of 1:1 Tan paint. The Tan didn't seem like enough though so I mixed 1:1 Cinnamon Brown and Raw Umber, then mixed that with a 1:5 paint/water ratio and applied it all over the Tan.

Better. Now, onto the bones!

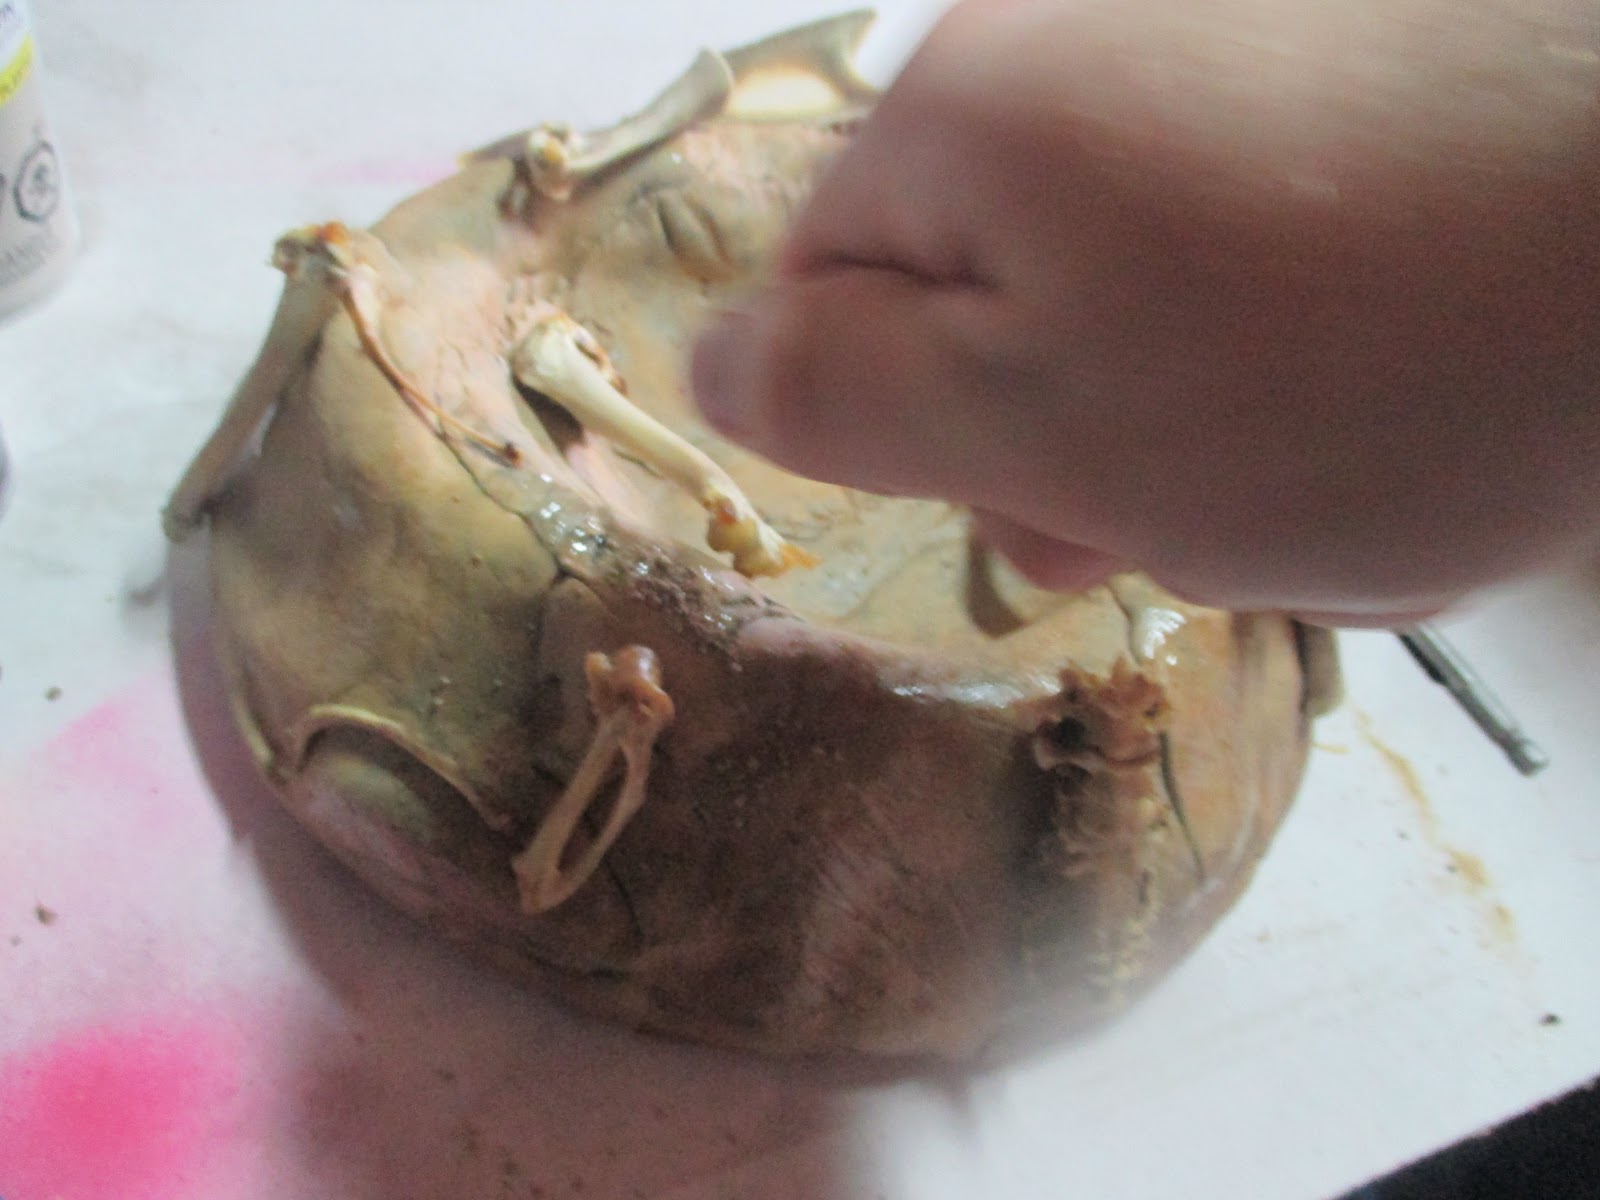
The lighting is different in this picture because I had to bring up the nest from my work station downstairs so that I could use the previous pictures I had taken of the nest on the computer to make sure I put the bones in the right spot. I think I got most of them right. I just used super glue to hold these guys in place. Again, nothing super fancy.

So now that we have the bones down where they need to be, we're going to add some dirt on top of the mud. I had a bowl of dirt that I scooped up from a construction site in town a couple years back hiding away so I grabbed our cullender and sifted through what I had...


...and voila. Nice fine dirt to sprinkle onto the nest.

So now we have to get the nest ready for the dirt. What I did was grab an old plastic bristle brush as well as some glue. This is the kind of glue that you have to let it get sticky first before you can do anything with it so I just ran some onto the nest...


...and then brushed the stuff around before it got too tacky and gummed up the bristles. After letting it sit for a few minutes, I sprinkled the dirt all around...

...and now we have dirt on our nest.

While walking with my kids the other day and talking about this project, we noticed a lot of dry vegetation laying about from all the snow finally melting away. My son suggested that I put twigs and leaves and whatnot onto the nest for further decoration. Honestly, pretty solid idea so I brushed on some more of that tacky glue, sprinkled on leaves and twigs...

...and this was the end result. Some of the bigger pieces I used regular super glue to fasten them in place but most of the vegetation is sticking on because of the tacky stuff. The color of the mud and dirt didn't look quite right to me so I mixed 1:1:1:1 of Caramel Candy, Raw Umber, Burnt Umber and Cinnamon Brown, mixed that 1:4 with water and dabbed it over the exposed soil area.


Honestly, it doesn't look like much of a difference in the pictures but in hand, it did add a bit more personality to the piece. I did end up having to add a drop of Black paint to the mix just to darken it up enough but here we are. Although speaking of personality, those bones are looking a little too plain, don't you think?

If this is a Tyrannosaurus Rex nest, those bones laying about should be bloody. Not super crimson, fresh bloody. No, I wanted to give the bones a more dried blood look, like the bones have been in this nest for quite some time. So I mixed 1:1:2 Cinnamon Brown, Burnt Umber and Deep Red, then mixed that 1:4 with water...


...and dabbed it onto the bones. Now, onto the Baby Rex!

Okay, I know that in Part 2, I said that I was going to go over how to paint the Baby Rex but I got caught up doing another figure with the same color scheme for the Etsy store that I did this one at the same time. Sorry about that, guys. However, if you want to see a speed run video of how to do this color scheme, I've included Ted Brother's video on how he did his Juvenile Tyrannosaurus Rex figure from The Lost World. I tried to follow this video as closely as I possibly could and I've learned so much from watching his stuff.
If the video goes a little too fast for you, I will be repeating this color scheme on my Jurassic World: Fallen Kingdom Super Colossal Tyrannosaurus Rex figure for an upcoming convention and I will be doing a step by step walkthrough on how I do it (so excited to work on that one).

And there is the finished project (with a couple of works in progress in the background). I did not glue the Baby Rex down as I figured that any potential buyers may want to take out and hold the dinosaur for closer inspection. I'm pretty happy overall with how this project turned out and if you are interested in maybe purchasing this item, it is now for sale here.
So the Baby Rex nest project is finally complete. Let me know down in the comments what you think of this or if there are any other repaint schemes you'd like to see me document and tackle as I will be working on more figures for the Etsy store. As always folks, thank you so much for reading and if you like what you see on this blog, you be sure to nudge that "Follow" button and stay cynical!
-The Cynic
No comments:
Post a Comment